In this post I will take a look at the power requirements of both radios. Again, this is not a detailed in depth scientific experiment, more in line with what the average user would do with equipment he/she may have on hand. One of the first things I did was hook the radios up to a power supply, in this case a Samlex SEC-1223BBM and I used one of those generic power meters. At idle:


That was surprising! The Yaesu uses 155% more power at idle than the Icom. One possible way to look at that is the IC-705 with a 3.3 Ah battery may have the same operating time as the FTX-1 with a 6.1 Ah battery. This makes the Icom even lighter because it needs less battery.
Next I hooked the radios up to a dummy load and Bioenno 3 Ah battery and did a key down at 5 and 10 watts to measure the power consumed. First at 5 watts.


Interestingly enough, the IC-705 is more efficient in its power usage. It is 340 mAh less than the FTX-1. Moving on to 10 watts.


The Icom again is more efficient being 240 mAh less power draw than the FTX-1. What does this mean? I think in rough terms a 3 Ah battery with the IC-705 will give you approximately the same operating time as a 6 Ah battery for the FTX-1. If you are a drive-up POTA guy, this is no big deal. If you are a remote POTA guy or a SOTA girl, power conservation may become an issue. For me, I will use my 3 Ah battery with the IC-705 and get a 6 Ah battery for the FTX-1. Note: The IC-705 with a 3,3 Ah battery weighs 1 pound less that the FTX-1 with a 6.1 Ah battery.
Now comes my first gripe with the FTX-1. The FTX-1 uses a different power connector than my other small radios. My IC-705 and my KX2 both use the same connector. Some of my other QRP radios in the past also used the same connector. Now I have to make sure I have the right connector for the radio. In the image below, the Yaesu connector is on the right. The center hole is larger than the one on the left (Icom/Elecraft).

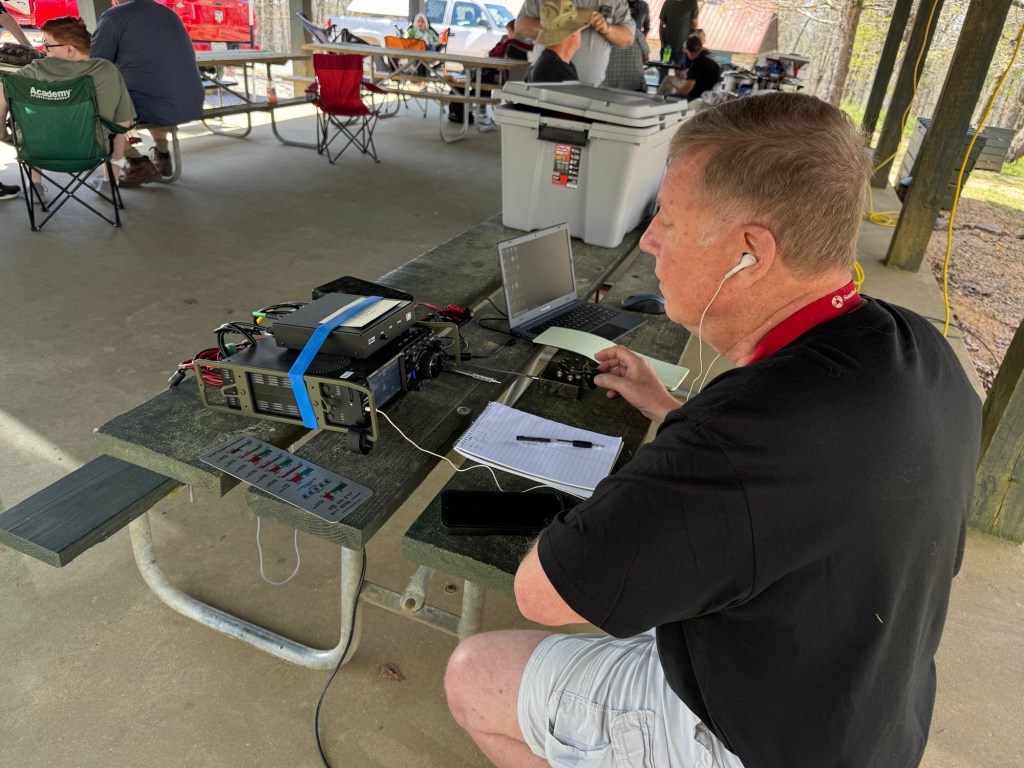
From here, my reviews/blog post will become more sporadic as I have to get the radio setup and taken out in the field. Unfortunately for me, POTA parks are all somewhat far away and I can’t just pop over for an activation. I do have some big trips/roves planned and I will be bringing the FTX-1 with me. In general, I like the radio, it has a nice fun factor and it does some things very well. In the near future I plan on doing an a/b test with the IC-705 during a CW contest.
One thing to note is the FTX1 can use USB C to charge the batteries however it requires PD (Power Delivery) and needs 45 watts. That would mean a USB C charger similar to one you would use to charge a laptop. The IC-705 can be charged using a regular USB A to Micro USB cable. This might become important if you are trying to save wait or space.
Stay tuned de Scott